This past summer I bought Anne a very simple sewing kit at JoAnns. It had a felt cat shape set and a felt heart shape set pre-cut and punched, it also had some fluff, decorations, a plastic needle and yarn for sewing.
The day after she turned 4 we decided it was time to start learning to sew. She whipped up the 2 patterns in no time and was begging to do more.
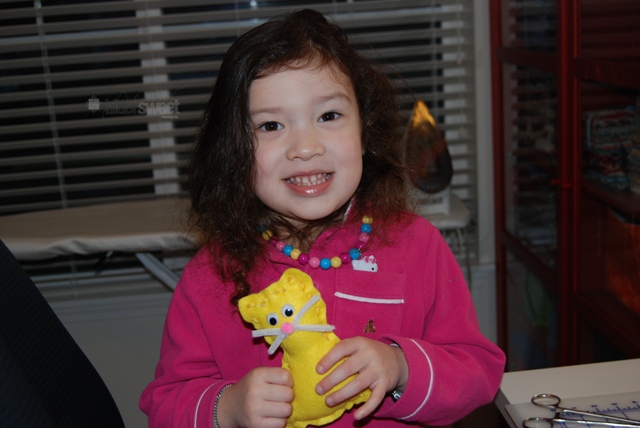 She made her cat first and then she quickly moved on to the heart.
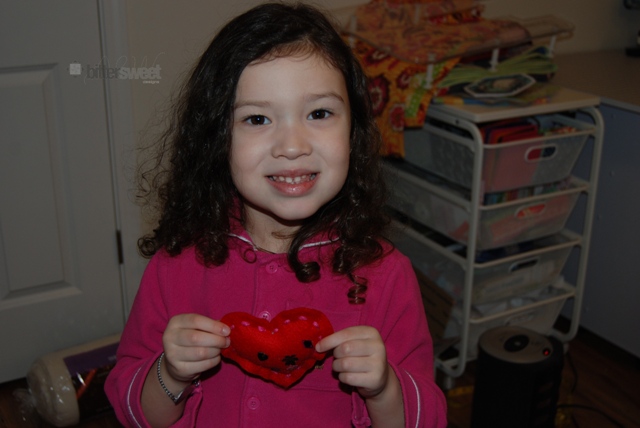 As I knew she wanted to sew more, I figured I needed a more economical way to make that happen without constantly investing in sewing kits.
You will need the following supplies:
Felt (lots of colors)
A Leather Punch (I tried a paper hole punch too and the one I bought failed to even punch paper – I moved to the leather punch after a recommendation from a friend)Fluff
A child friendly needle (we are using the one from our original kit)
Yarn
Optional: decorations – bling those creations out!
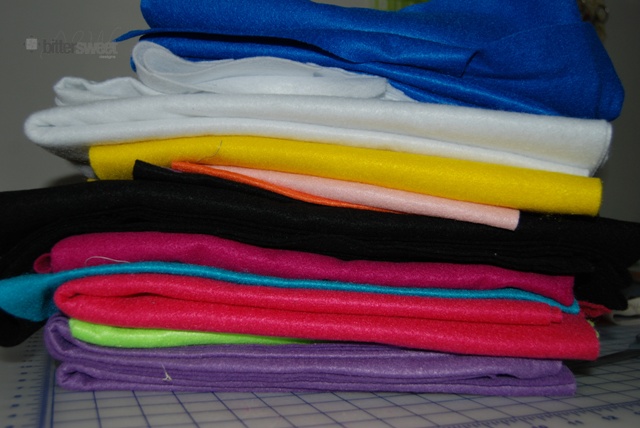 Start with felt. I have no idea how I ended up with such a huge collection and selection of felt, but WOOHOO because we not have lots of options to get creative!
Next cut out a shape you want to sew. Fold the felt on itself so you cut out 2 identical pieces at once. Then grab your punch. I use mine on the 2.5 mm setting. I find it is the perfect sized hole for the small needles and small hands.
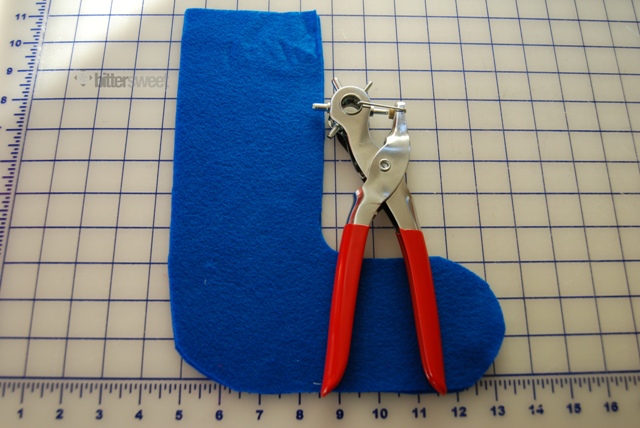 You will want to evenly space your holes around the shape. Anne wanted a blue stocking, we will likely be sewing this one after nap today. One thing to note is that the punch can be very difficult to use if you have weak hands like I do (darn RA!), you can either take lots of breaks or simply find someone with stronger hands to do the punching. My husband punched the star below for me and I marked each punch spot with a black sharpie for him.
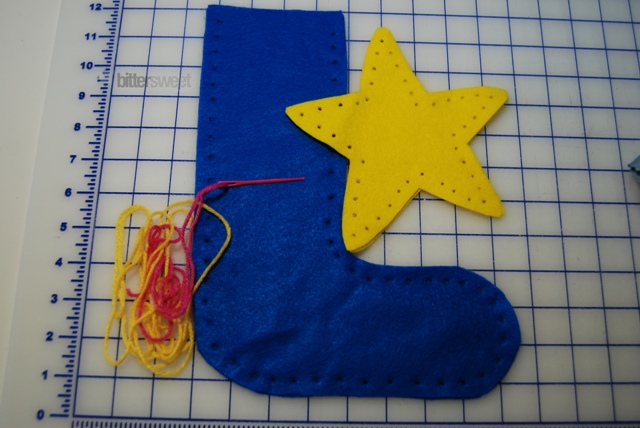 The only thing I didn’t already own when I decided to make these kits was the leather punch. I was able to get one at Michaels using a 40% off coupon for $7.99. Totally worth the investment. Mine is an ArtMinds Leather Punch with 6 adjustable hole sizes.
This is not a sponsored post, just telling you which product has worked for me.
Anne and I are having so much fun sewing together. She is dieing to get her hands on one of my machines but she is still a couple years off from that, in the mean time, this is making her pretty happy!

Just I was needing. I want to make my granddaughter a sewing kit for a Christmas gift.
I love the hole punch idea. Thanks so much for posting this. Anne looks like she really like her sewing kit.
Carolyn
The perfect gift to allow you to spend time with little ones sharing the love of creating and sewing!
Such a cute idea!
We were looking at lacing cards but, this is better idea!
Ty,
K- <3
Great idea, it’s bound to give her hours of fun 🙂
I will definitely have to make some of these for the kiddos. Awesome idea for winter time fun!
What a lucky girl! I wish I had a clue about sewing when my daughter was her age!
I’m going to predict many years of shared sewing fun for the two of you! I love your ideas, and that you made it happen for Anne. Yay for Aaron helping, too. Now it’s a family project. =)
Making your own sewing kits was a great idea Melissa! And it’s a great way to start the little ones sewing. Thanks for sharing!
Sew smart!!
Melissa — I love that you are sharing the gift of sewing and cooking with Anne. Your Grandma and Great-Grandmothers would be proud of you too!
Great idea I was planning to get a box and fill it with fabric and trim for my 7 year old but this is the perfect project for my 5 year old.