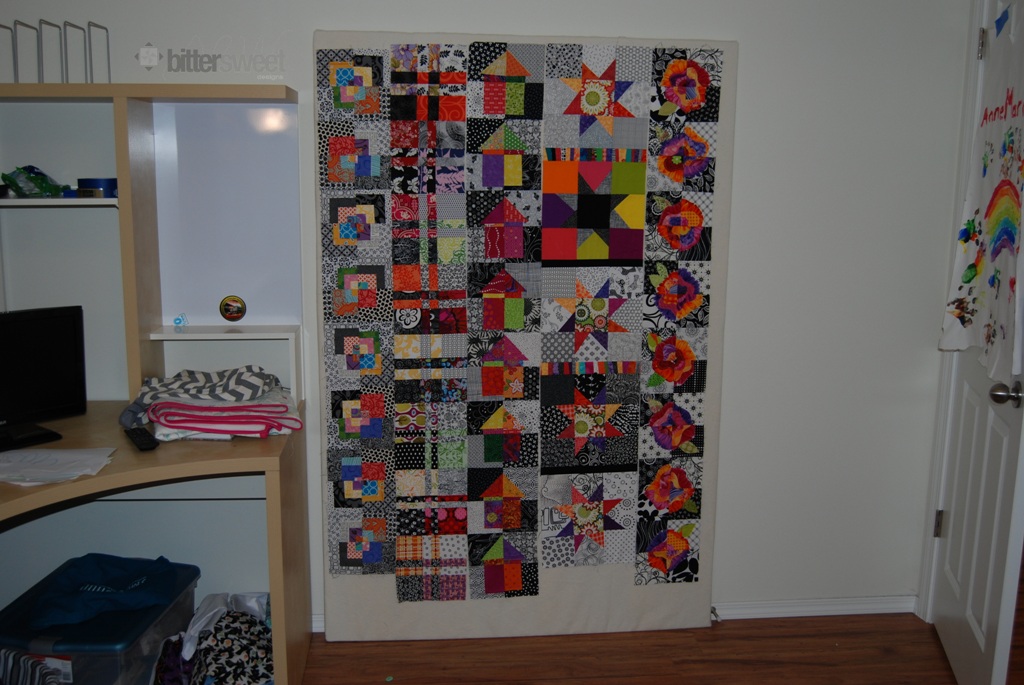
Last week I was visiting Deb from asimplelife Quilts and saw her awesome new design wall that she made back in July. I commented on how great I thought it was and she sent me over to Oh Fransson to this fabulous tutorial to build an inexpensive design wall.
Well I did my own take. I went with 1″ thick foam insulation like Deb did, but unlike Deb and Elizabeth, I decided to forget the staple gun (mainly because we didn’t have the right staples). I improvised with some of the worst pins I’ve ever purchased in my life. I threw away at least 4 from the pack because they wouldn’t even pierce the batting! I bought a 4′ by 8′ piece of foam and had the store cut 2′ off the top, making it 4′ by 6′ – good thing too or it wouldn’t have fit in our car!
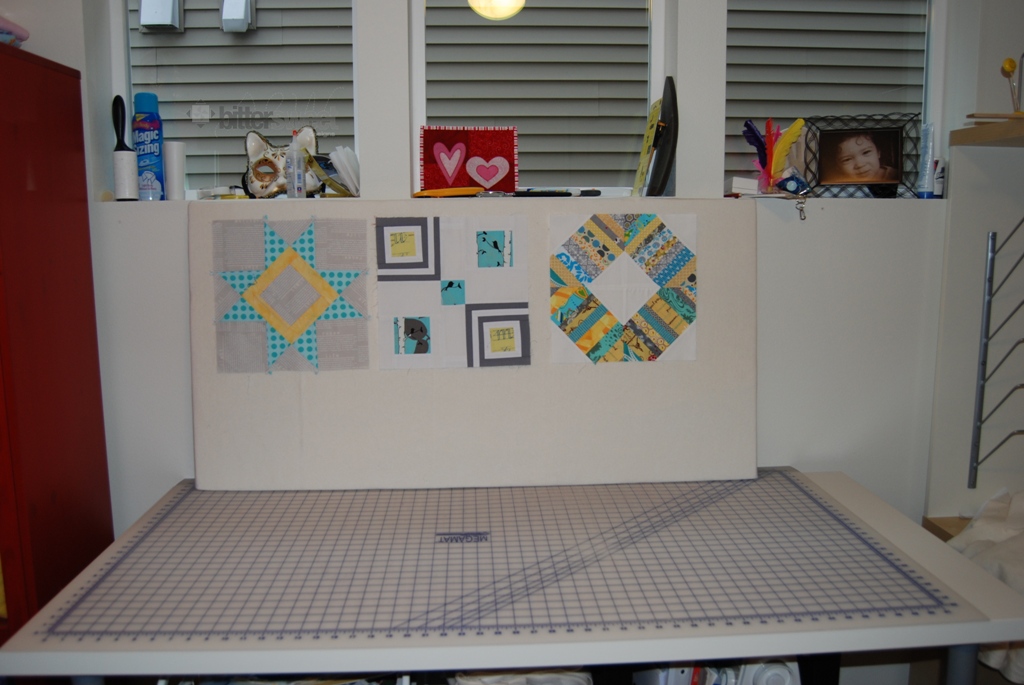
My plan when the desk to the left is gone is to buy a second one to double the size of my design wall. Don’t worry! I didn’t throw away the left over foam, I improvised again! I decided I needed a table top design wall too! It is perfect for my cutting wall to just throw things up as I cut. Plus, Anne likes it when I put it on the floor for her to “design” with!
I am loving having a place for 2 active projects – I’m hoping this will lead to extra productivity, we shall see!
Don’t forget to link up your finishes to the August Finishes Party for A Lovely Year of Finishes.


Perfect! Very inspiring!
Now I’m looking around all my walls so I can build one…….
both look great and I really like the small one, thinking thinking thinking
I love this!! When I finally get a proper sewing space, this will be a “must do!”
What a great idea, I’m pinning this to my sewing room board for inspiration when I move!
great idea!!!!!!!!!!XXXXXXXXXX
Great idea with the leftovers! I’m intending to get a good design wall set up in my redecorating, after my first one developed an unfixable bend in the middle!
How great that little one is. This would be a lot neater than my batting thumb tacked to the wall. =)
I followed the same tutorial to make my design wall 🙂 I got three pieces of 1.5″ foam insulation and just used duct tape to keep them together and the batting held taut LOL
Love my design wall!! There is no way I could lay out quilts without it 🙂
Yay! It looks great all filled up already!!
I don’t have the space for one of those,but love yours! Looks like you have put both of them to good use already 🙂