Hi Everyone! We are getting down to the last 2 tutorials for the Sew Intertwined QAL. On my blog today I have a tutorial on how to join your blocks together, on Jenna’s blog tomorrow, she has a tutorial on how to do the borders, if you choose to have them. I have border fabric…but I’ve been too lazy to add it to my quilt yet. Hmmmm…maybe that is the universe’s way of telling me the quilt show be borderless?
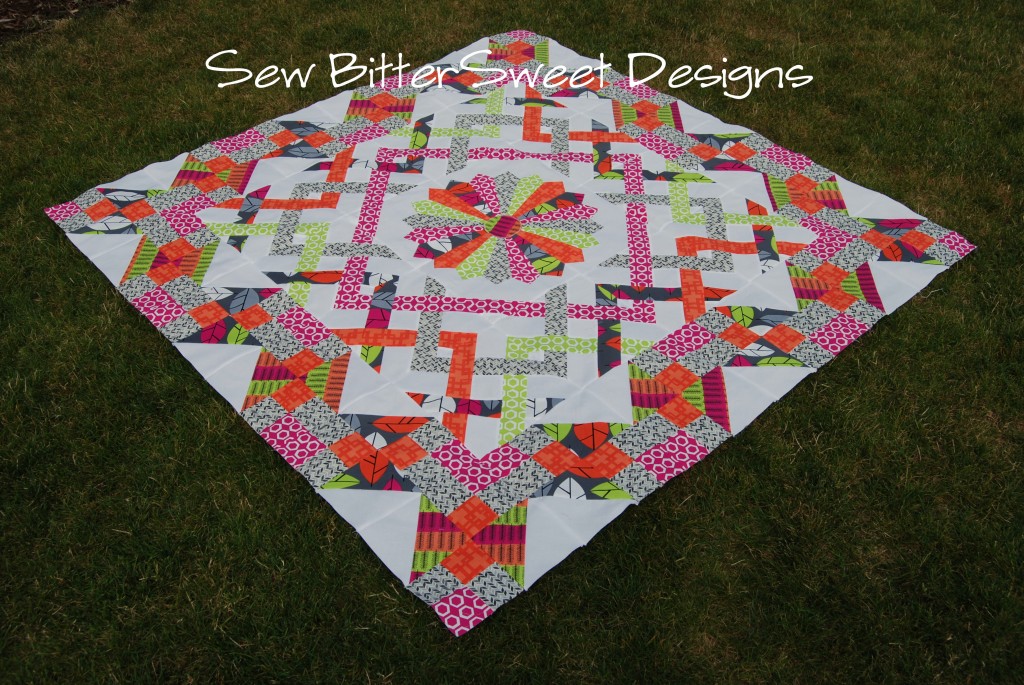 On to the business of joining. I did not make my dresden first, let’s start with that simple fact. I also did not put the center on my dresden until I had already joined my center rows. That being said. I am going to show you how I pieced my top. For those who have a 20.5″ by 20.5″ center block, do not fear! The tips and tricks I am going to show you will work for your quilt. ALSO, my recommendation is to piece your middle section first – when you see my pictures further down you will see what I mean.
Here are all of my blocks laid out. I have a just barely large enough space in my sewing room to lay this top out on my floor, of course I can’t walk around afterwards, but that’s beside the point!
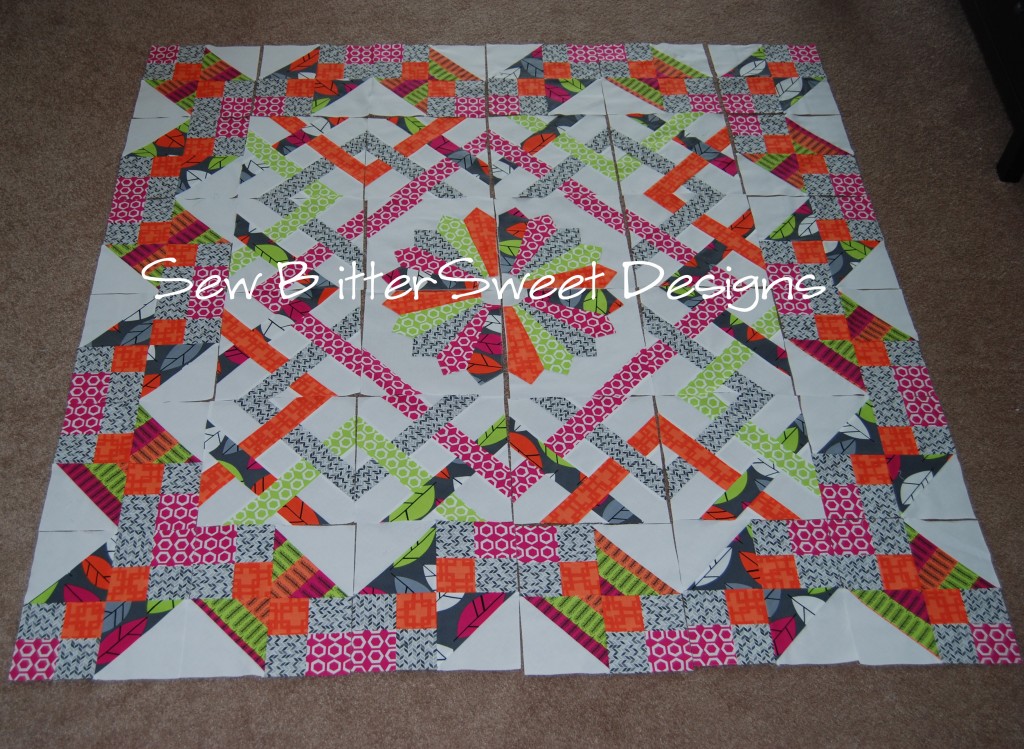 If you have a large enough space, I highly recommend laying your quilt out completely, even if it means laying it out in a room different from your sewing area. It is important to make sure that all of your blocks are oriented correctly. That being said…I still managed to screw mine up and had to do some ripping out. The picture above is laid out in my bedroom, the picture of it screwed up you are not seeing. Needless to say I spent some quality time with my seam ripper when I realized the mistake 🙁
I started by piecing together my individual rows. Accuracy is important here because of the woven blocks, check that you are sewing with a 1/4″ seam – and I mean it when I say check. Get a couple of scraps out, sew them and measure. If your seams are not accurate, your points will not match!
Here are my rows all laid out:
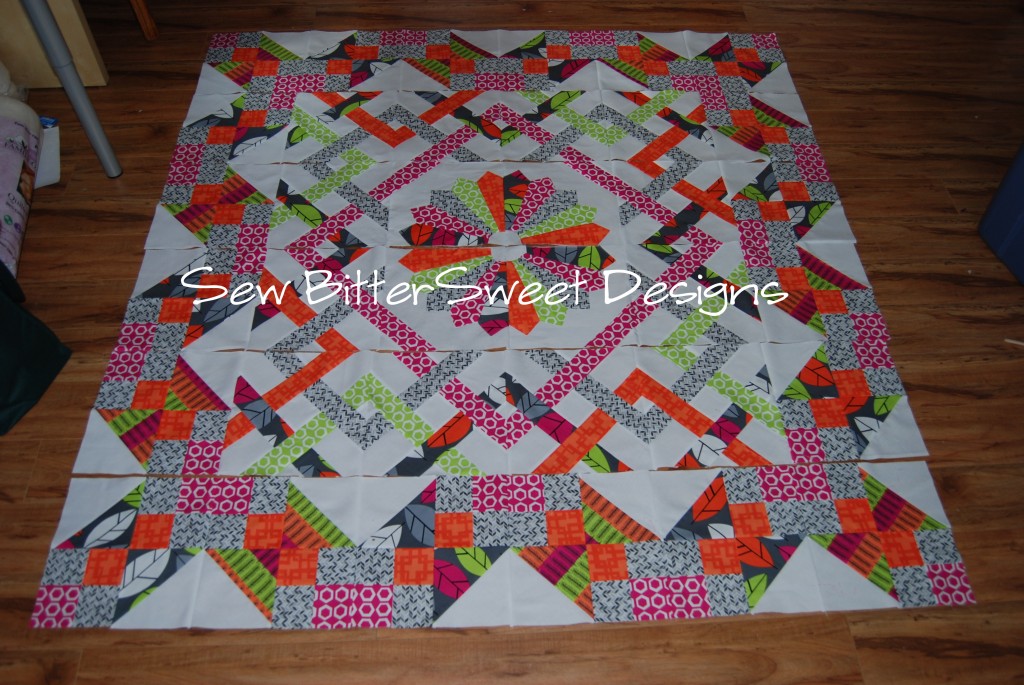 Now for those who have their dresden already completely together, piece the center section of the quilt together first. I recommend piecing the 4 blocks to the left and the 4 blocks to the right and then attaching them to the dresden. Sorry that I do not have a picture of this – many many apologies!
Now for perfect points you are going to want to alternate your pressing. For the top row, press all your blocks to the left, for the next row press them all to the right, and so on. The reason I recommend this is because it will make it much easier to align your blocks and get your perfect points. I realize some people are huge fans of pressing their seams open, but this will help to ensure that your points match perfectly. I will show you why after the next picture.
When you are ready to sew your blocks I highly recommend pinning like crazy.
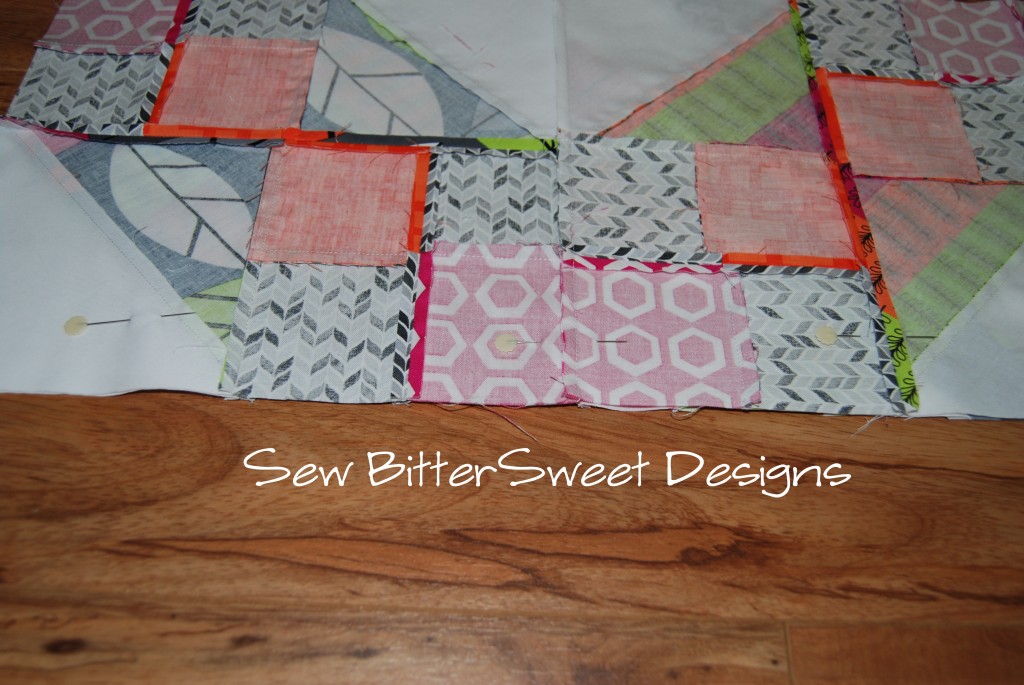 When you are matching up your seams, if you pressed your seams to opposite sides as I recommend, they will look like this:
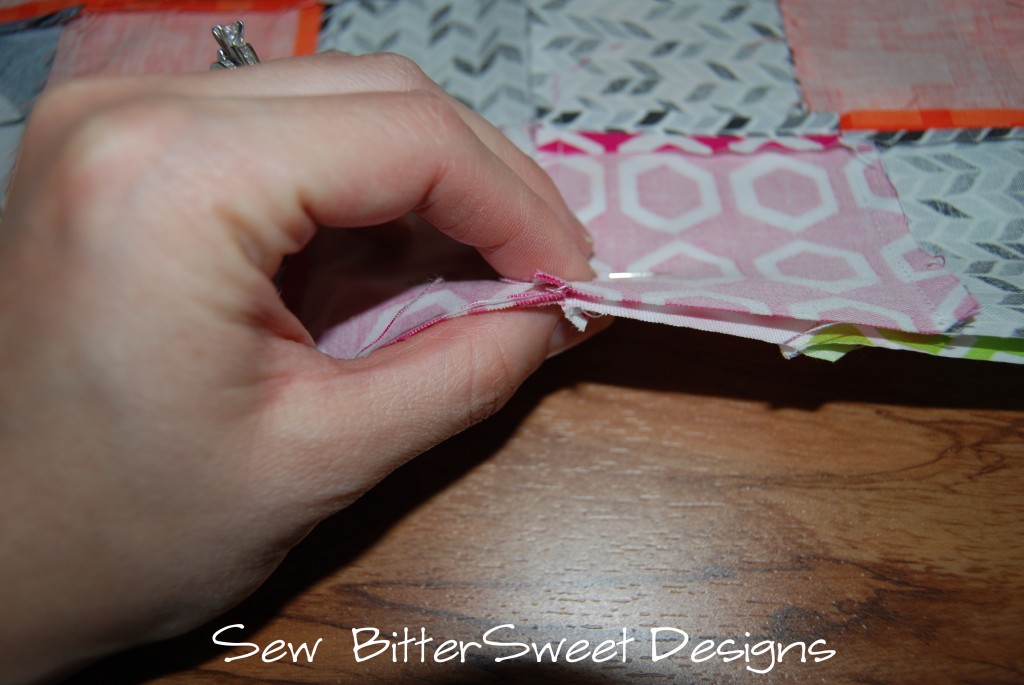 See how they meet up so nicely! Make sure you have a pin for each seam and I recommend a pin in the middle of each block as well.
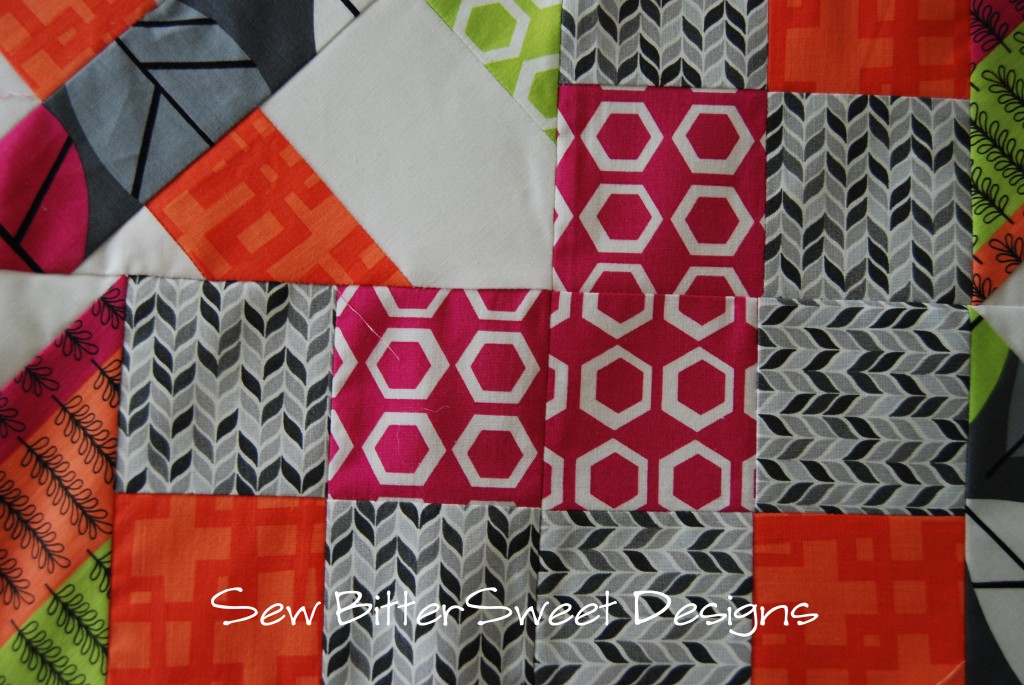
Here is what those perfect points should hopefully look like:
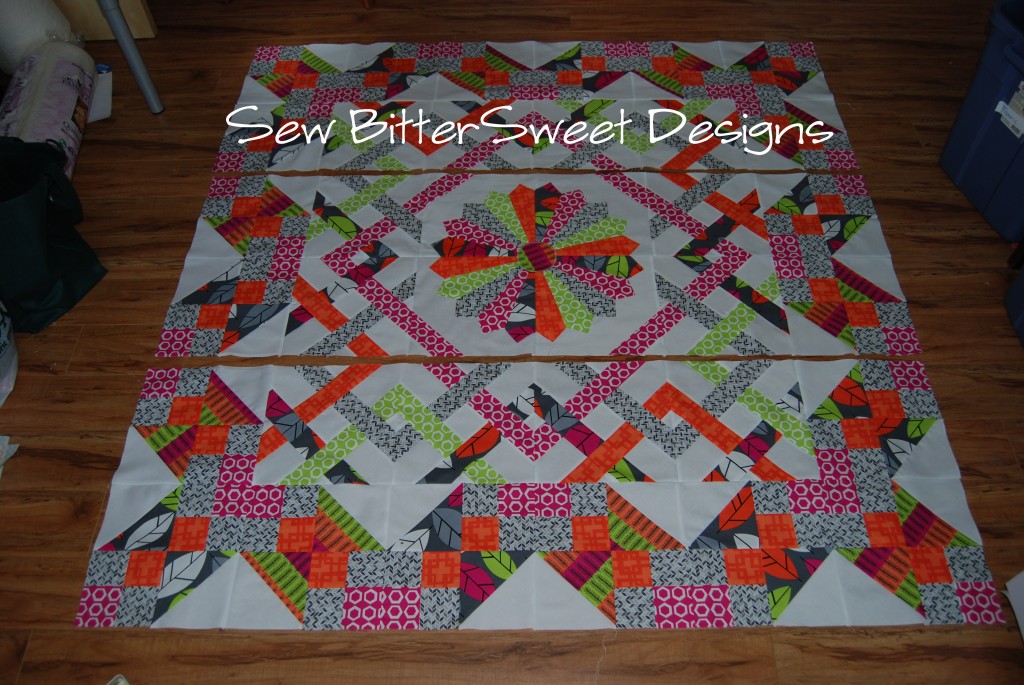
 I sewed my quilt together in sections – Top, Middle, Bottom. Here is what my sections looked like. For those doing the full dresden, the middle section is the one you should piece first!
 Sew the final sections together, you can press these open or to the side, your choice. I actually did press the horizontal seams open, but that’s just me. When you are all done you will have a stunning quilt top! Now head over to Jenna’s blog tomorrow and get some borders on that quilt!
 This tutorial is sponsored by Contemporary Cloth, they provided me with the gorgeous fabrics to make this quilt.
© Copyright M. Dunworth 2012. You are welcome to use this tutorial for your personal use. Please do not use this tutorial, my words or my pictures without my permission. You are welcome to link to this tutorial, but please do not take my work.


Glad to know I wasn’t the only one who got quality time with their seam ripper. :o)
I absolubtely love this quilt and the colors! Just my style! Now it looks, like I really have to try my hand at a Dresden plate.
youe
I did not get to finish my comment. hit some button.
I wanted to say that you quilt is awesome. I saw someone else working on one too but I don’t remember whose blog it was.
Your tutorials are always so well-written! Not sure if you saw my post today but I am now officially without a sewing machine – think I can hand stitch this? Ha, ha!
I SO love your quilt. Cannot wait to finish mine! 🙂
I think you should go borderless. It speaks for itself. Just use that fabric for you binding and maybe the back.
It’s beautiful, just as it is, with no border. That’s how I always press my seams. It makes it so much easier to get things to match!
my fabric has arrived, its in my big todo pile, i cant wait to start, yours looks fabulous!
MELISSA!!!! That is so absolutely GORGEOUS!!!!