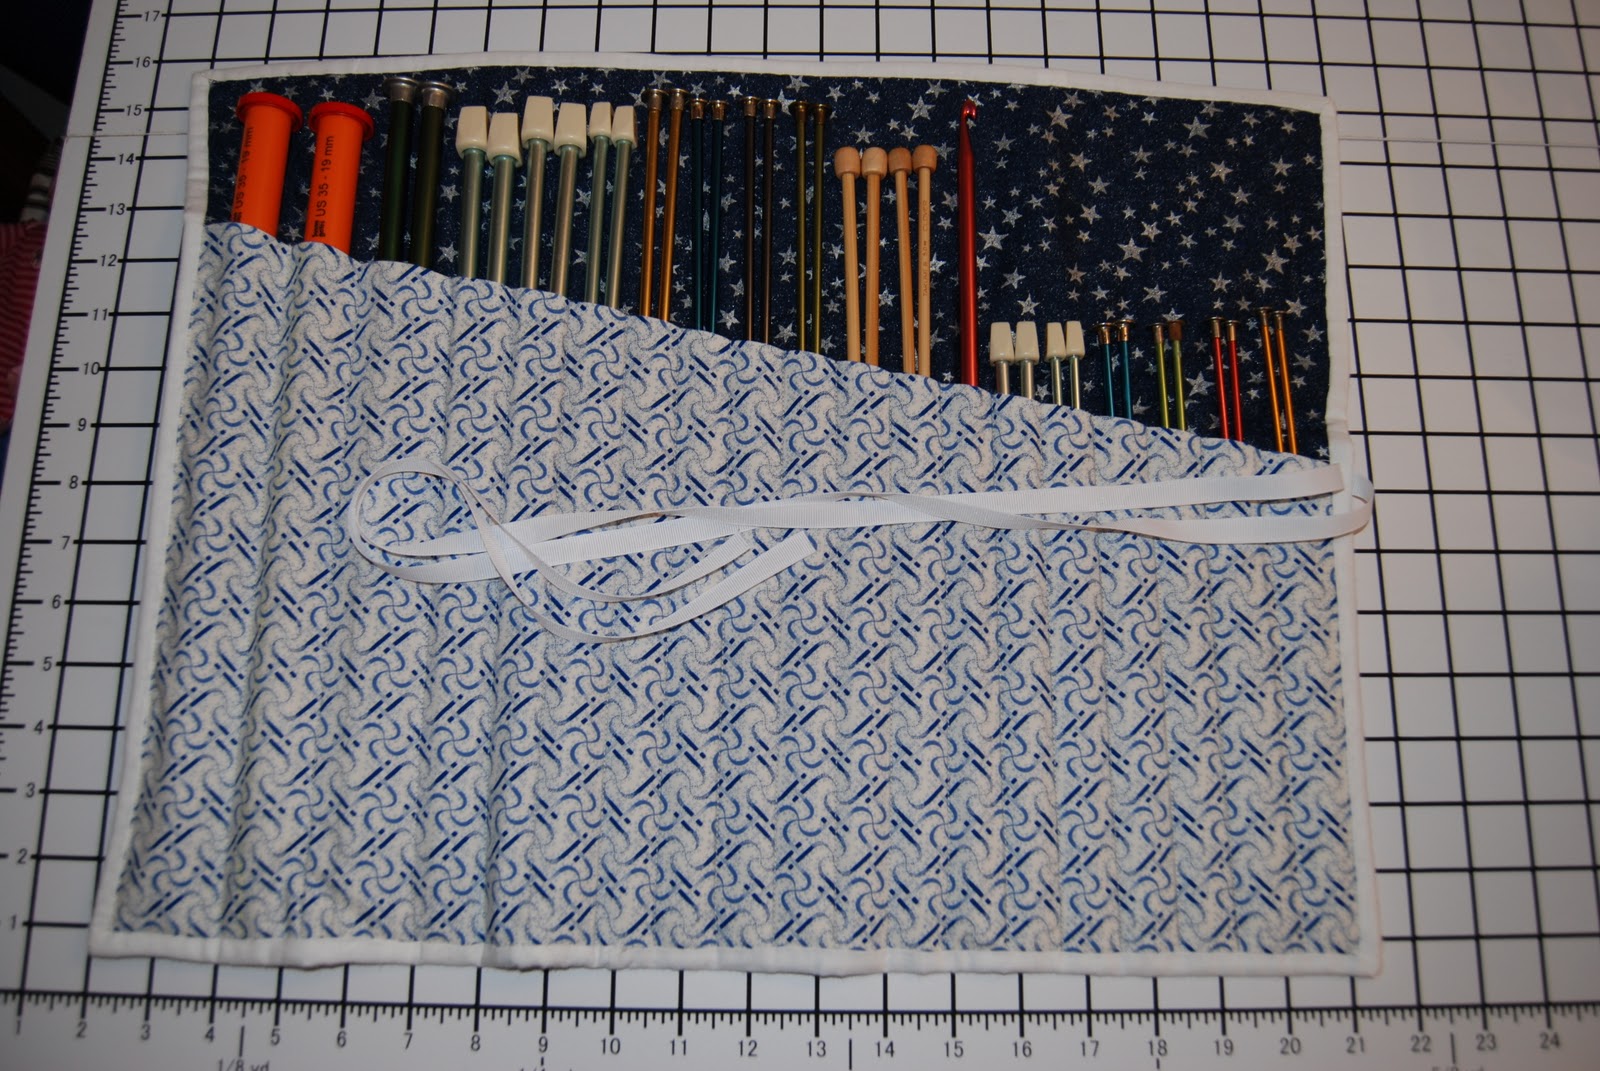
I’ve got NEEDLES! In fact you could go so far as to say that I have a lot of NEEDLES. This is only a small sampling of my crochet hooks and straight knitting needles, the circular and double pointed needles are all jammed in a quilted diaper bag I made 2 years ago that has never been used as a diaper bag!
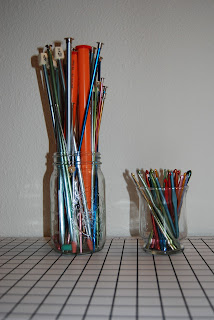
Needless (ha ha ha) to say, I have a need for storing all these needles. Thus, this weeks tutorial, a quilted straight knitting needle carrier.

You will need:

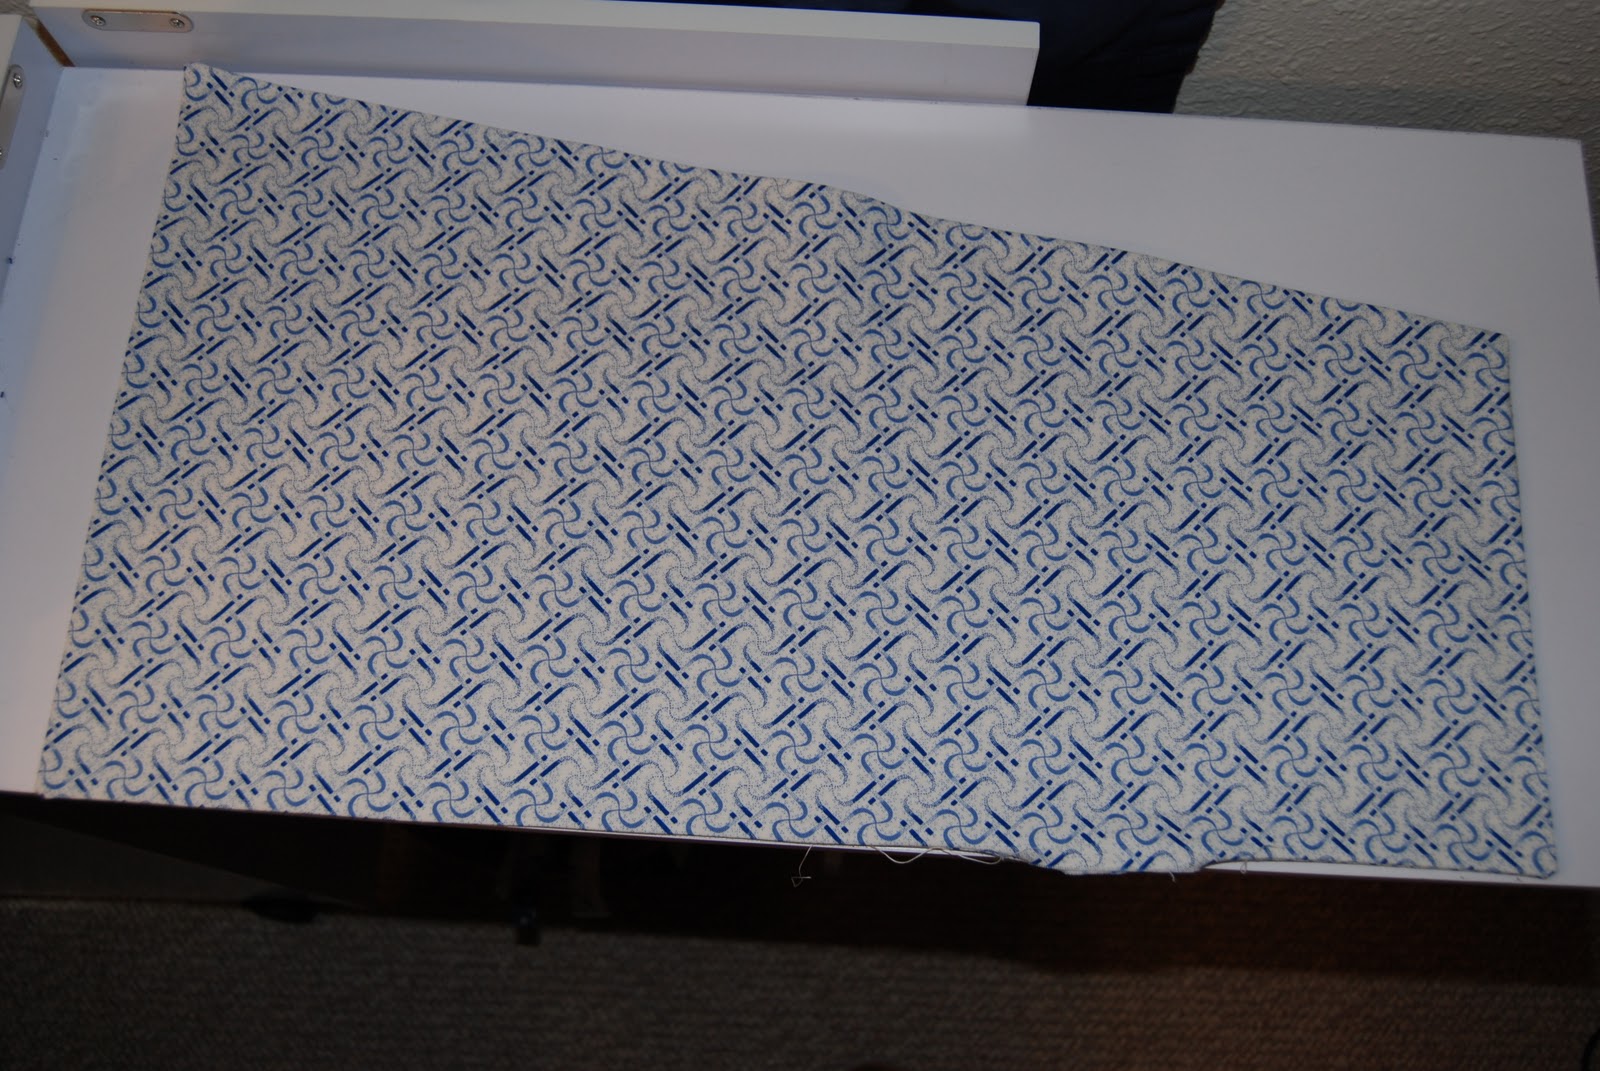
Three to four coordinating Fat Quarters or four cuts of fabric as follows –
- 2 cuts that are 21 by 16 inches
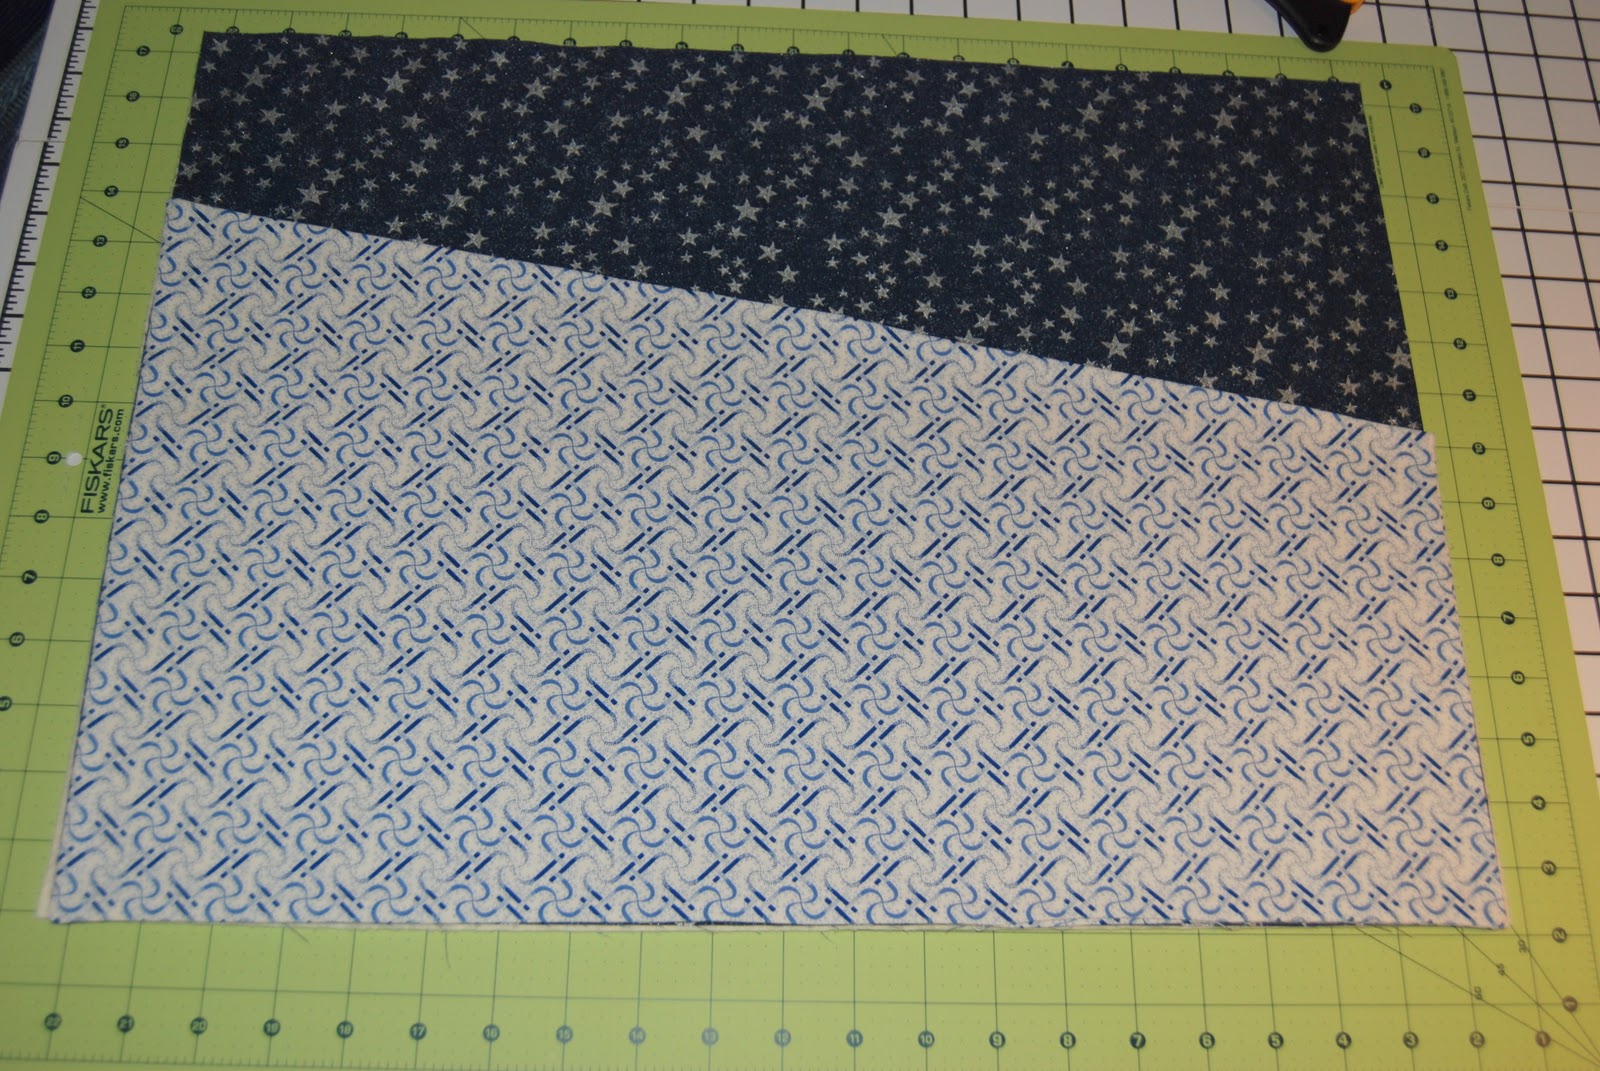
- 2 cuts that are also 21 by 16 inches that are further cut down to an angle of 12 inches at the high end and 8 inches at the low end. (these fabrics can match, or you can use muslin for the inner piece.)
- This piece is easily cut by marking 12 inches on the left, 8 inches on the right and using your long, straight cutting ruler, line marks up and cut the angle
One piece of batting cut to 21 by 16 inches
Coordinating fabric for binding – I used 3 strips that were 2.5 inches wide sewn together (you may need more or less depending on the binding method of your choice)
Coordinating Ribbon – cut into two 25 inch pieces
Marking pen or pencil
Tape Measure
Pins
Walking foot
Sewing Machine
Needle
Thread
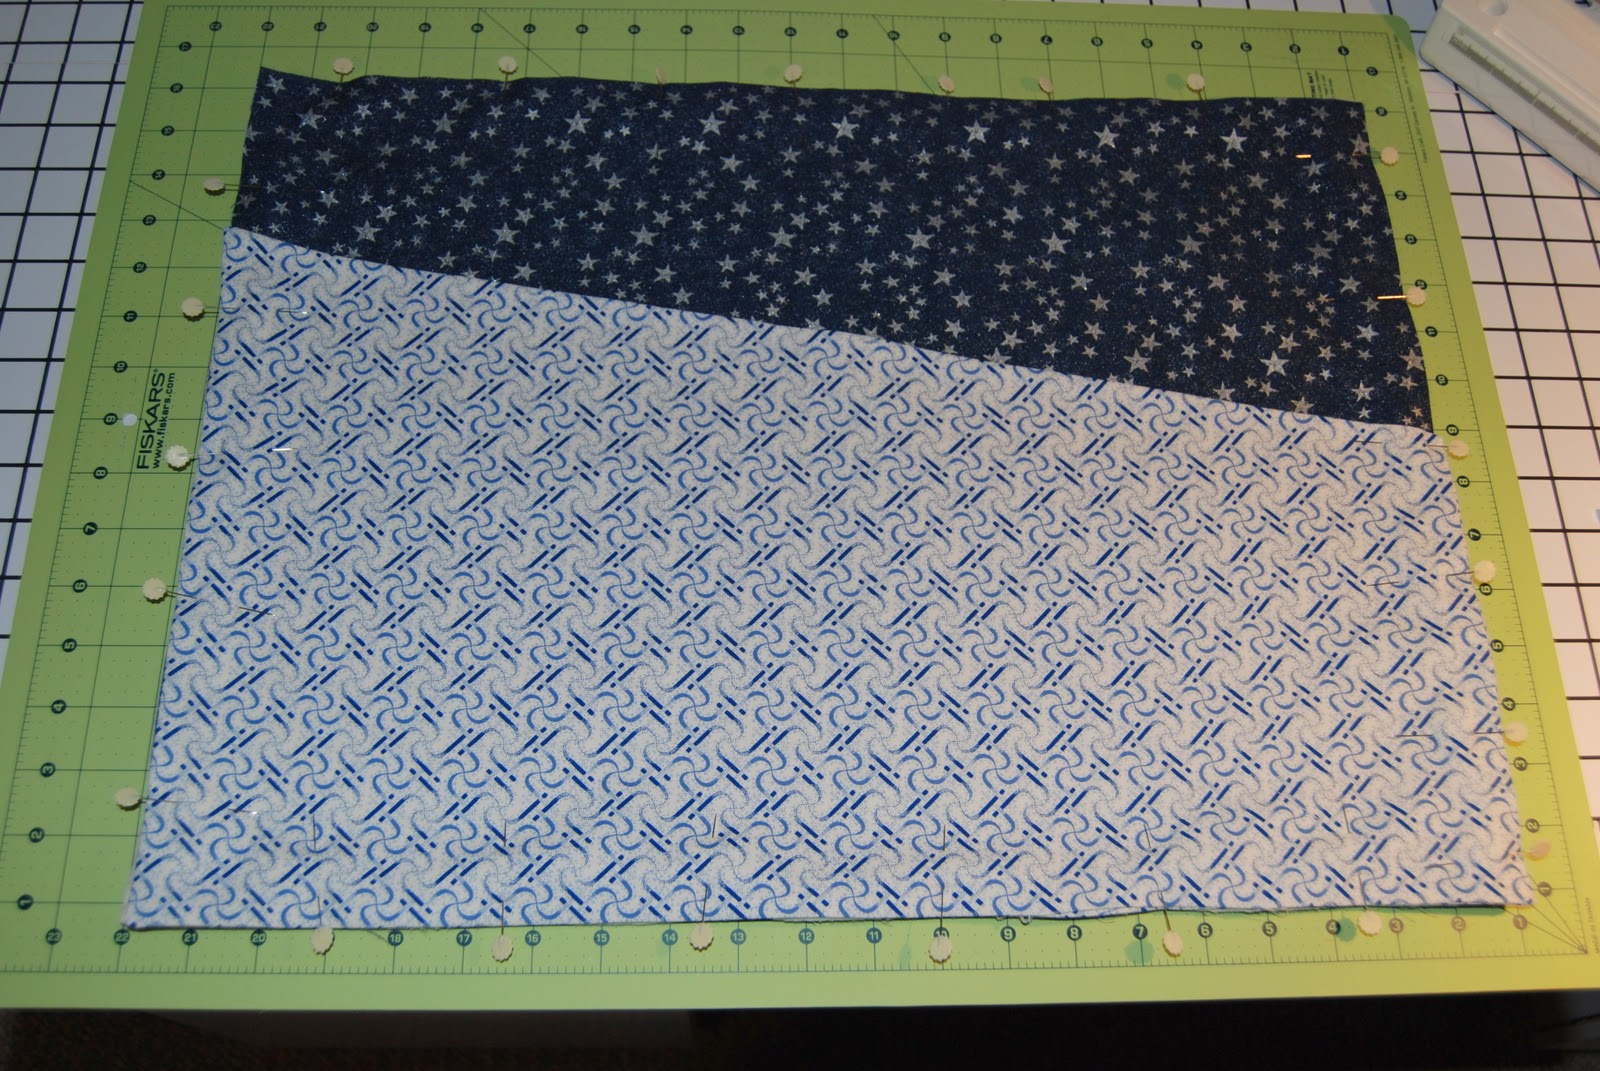
Step 1: Using Sunni’s Super Easy Turning Trick place the two right sides together of the pocket fabric (angled fabric). Leave a big enough opening to turn the pocket, sew the pieces together and turn the pocket right side out. (don’t worry about sewing the pocket closed!)
 |
| Right sides together, 1/4 inch seam |
 |
| I used one of my handy knitting needles to get the points super pointy 🙂 |
 |
| Voila! A turned out pocket! |
Step 2: Put your walking foot on your sewing machine if you have one (it will definitely come in handy). If you do not have one: pin pin pin. Place each layer on top of the next making a sandwich.
Starting at the bottom:
- 21 by 16 inch cut facing down
- 21 by 16 inch batting
- 21 by 16 inch cut facing up
 |
| Here’s my sandwich |
 |
| Here are my 50 pins! |
Step 3: Sew the sandwich together keeping a scant 1/4 seam.
Step 4: Mark and sew your needle pockets: these are the measurements I used, yours may be different depending on the size of your needles. From the left side of the pocket to the right side:
- 2 inches
- 1.5 inches
- 1.5 inches
- 1.25 inches
- 1 inch
- 1 inch
- 7/8 inch
- 7/8 inch
- 7/8 inch
- 7/8 inch
- 7/8 inch
- 7/8 inch
- 7/8 inch
- 7/8 inch
- 7/8 inch
- 7/8 inch
- 7/8 inch
- 1 inch
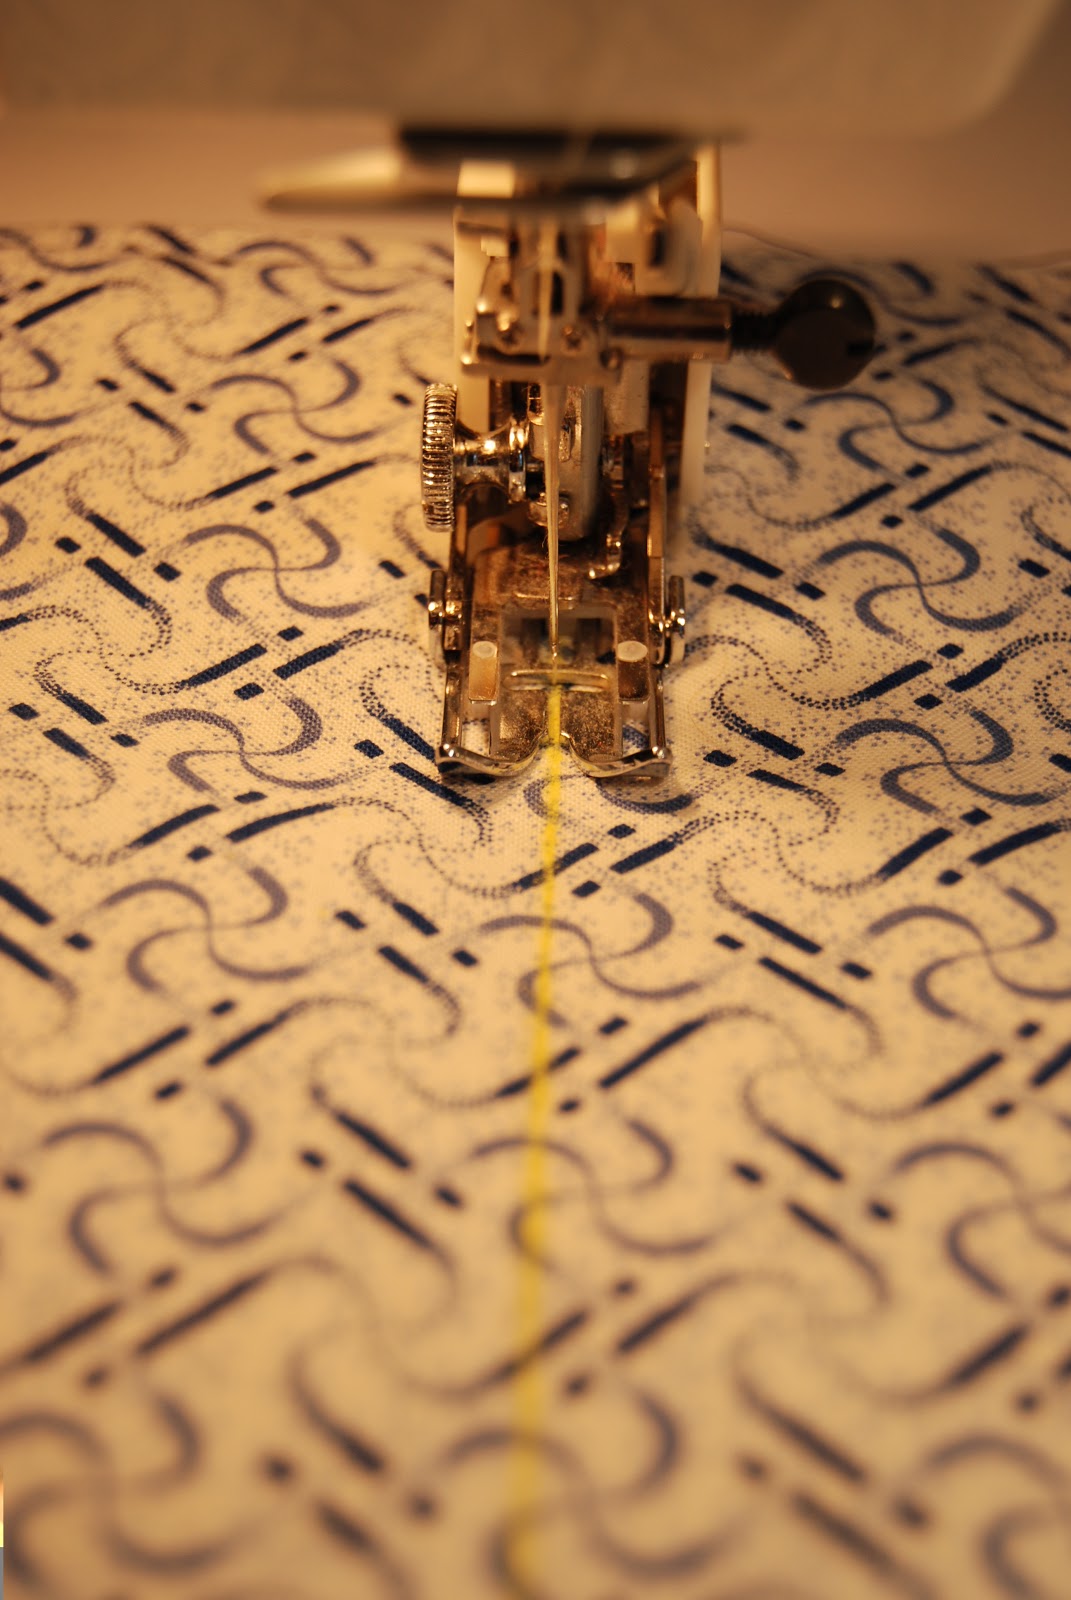 |
| Follow the yellow brick road 🙂 |
 |
||
| I took my measurements as I went, luckily for the most part you don’t have to!!! |
Step 5: Attach binding
 |
| Don’t forget to miter your corners! |
 |
| Time for the hand work |
Step 6: Attach Ribbon Ties – I did mine half way up the right hand side on both sides of case
 |
| Tie a pretty bow and you’re done! |
Easy as pie 🙂 Well, for me it was easier than making pie seeing as my one and only attempt at that ended up in the trash can before it even got baked!

I can now display my knitting needles in my beautiful old mason jar and when I need to travel I have my convenient travel case to store them in!
Let me know if you have any questions! I hope you enjoy making this pattern 🙂

What a lovely way to travel!
Deb
You know I love this case!!! Such an ingenious idea for a very common storage problem!
Love this project..Best for keeping things safe and handy.. 🙂