Seeing as I have spent the last 3 weeks doing nothing but quilting – projects big and small – I thought I would show you how I baste a quilt.
I am old fashioned – no basting sprays for me. I don’t have anything against them, they just aren’t my preference. The one time I did use one the quilt felt really stiff afterwards and I just didn’t like the way it felt. I know tons of people do like them and use them. I think you should try different methods and see what works best for you – pin basting – while time consuming – works best for me. This is a twin size quilt, I did it in front of the TV and was done in about 30 minutes.
I start out by putting together my backing and pressing it.
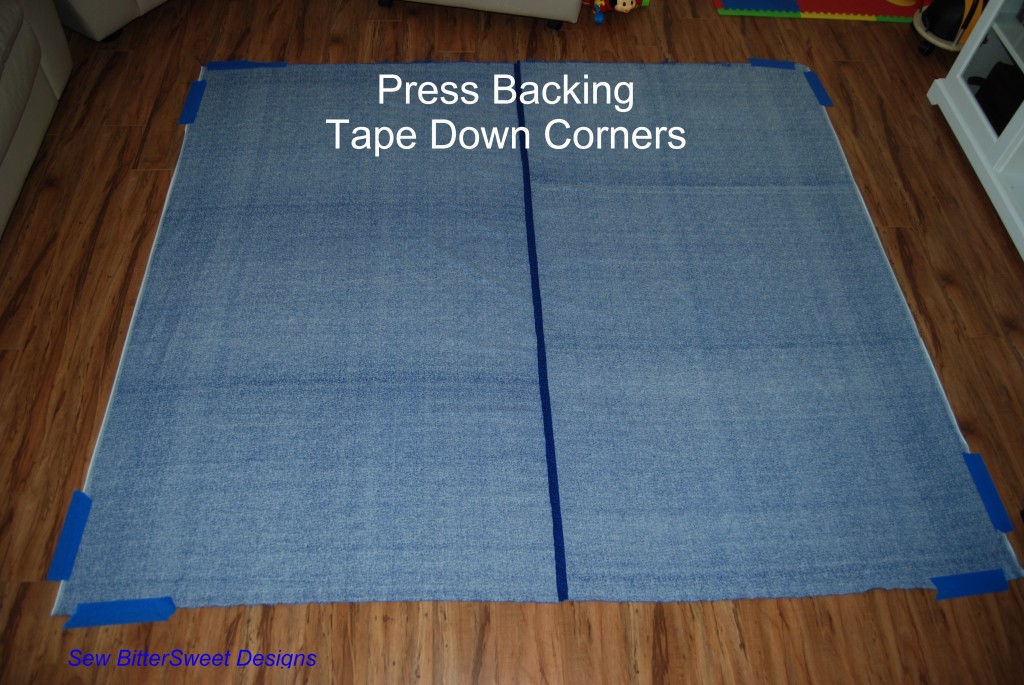 Lay backing right side down onto the floor. Having hardwood floors is awesome for pin basting because I can tape the quilt to the floor. You can also do this on carpeting – I usually pin the backing to the carpet.
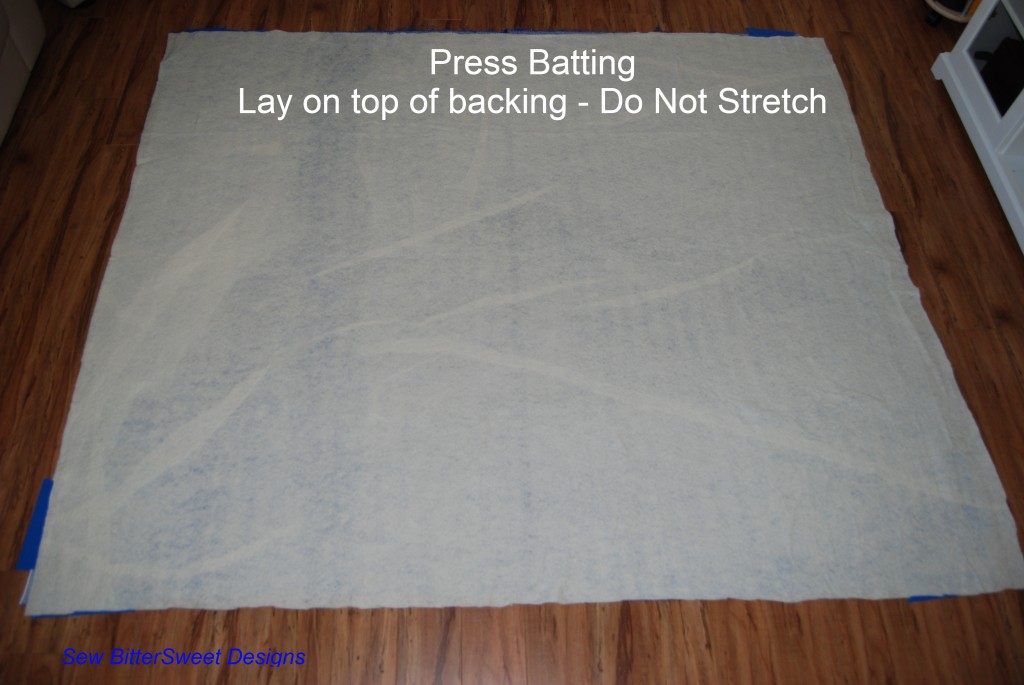 Press batting (it looks wrinkled but it really isn’t). Lay flat on backing – DO NOT STRETCH. Trim batting down to size of backing.
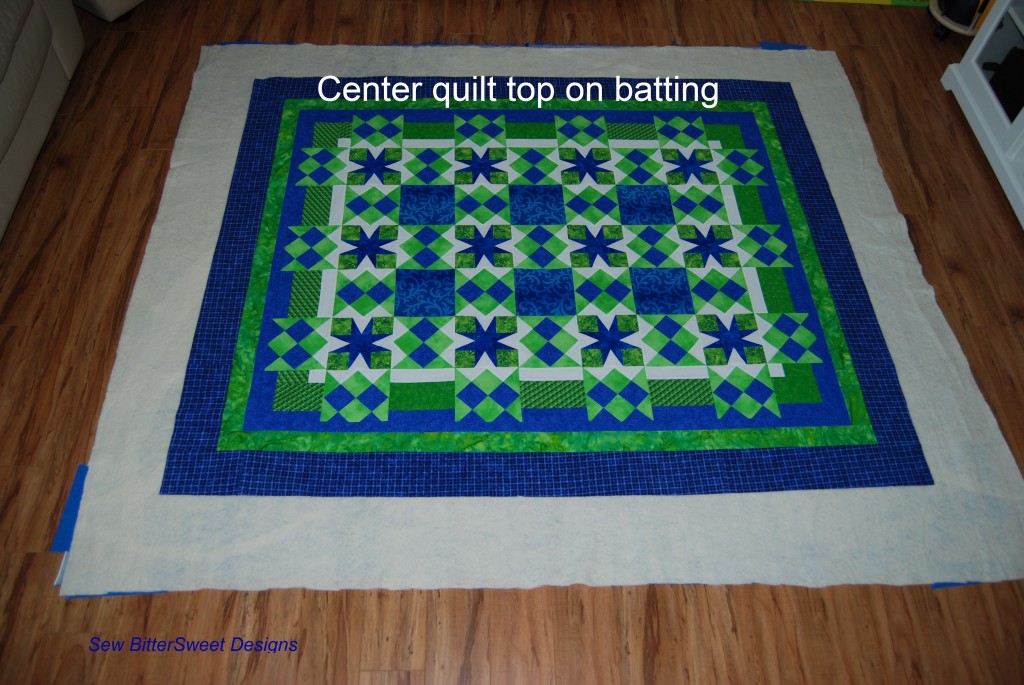 Center quilt top on the batting – you are now ready to pin.
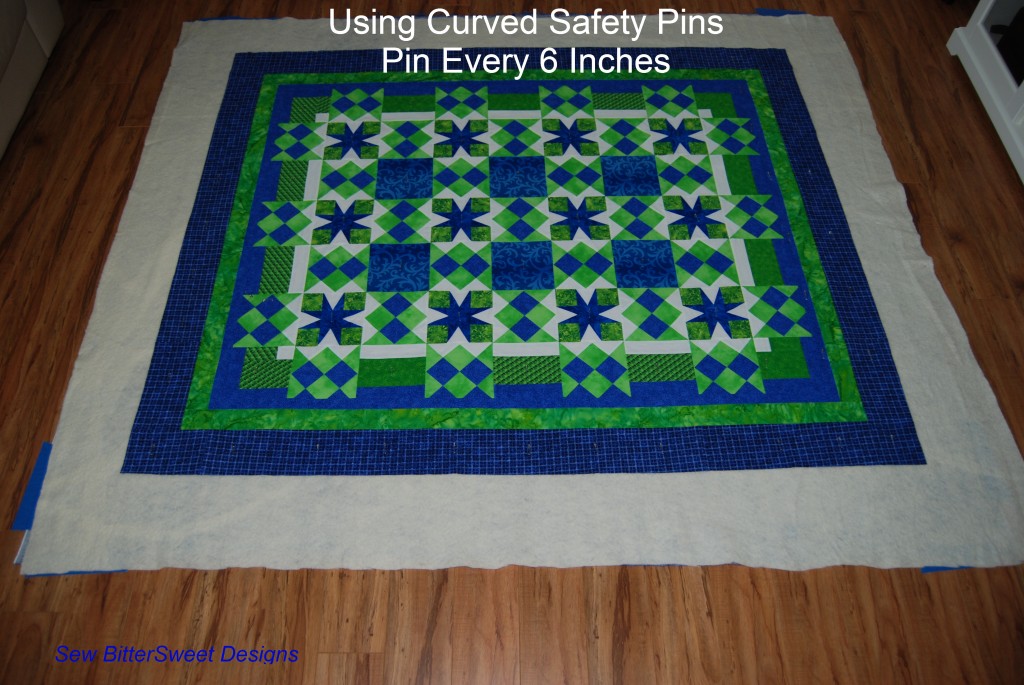 Pin every six inches – if you know your quilt pattern (I did straight line quilting following the diamond shapes) try to avoid pinning directly in the path of where you want to stitch.
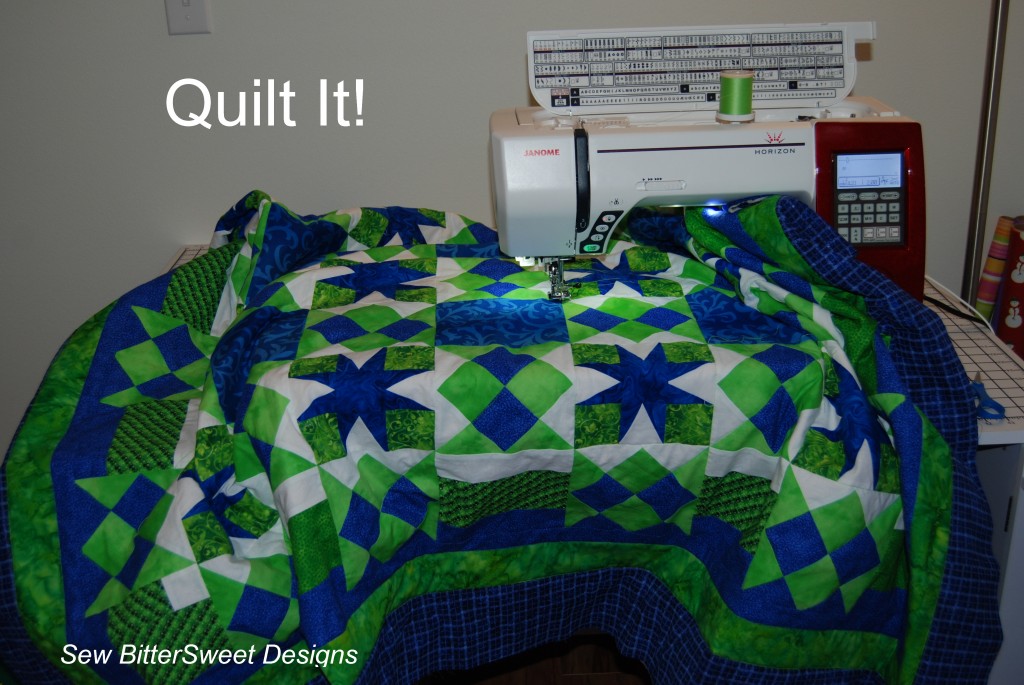 Once you finish quilting – square up your quilt and trim excess batting and backing. Bind it and you are all done!!! Let me know if you would like me to do a tutorial on how I bind quilts 🙂
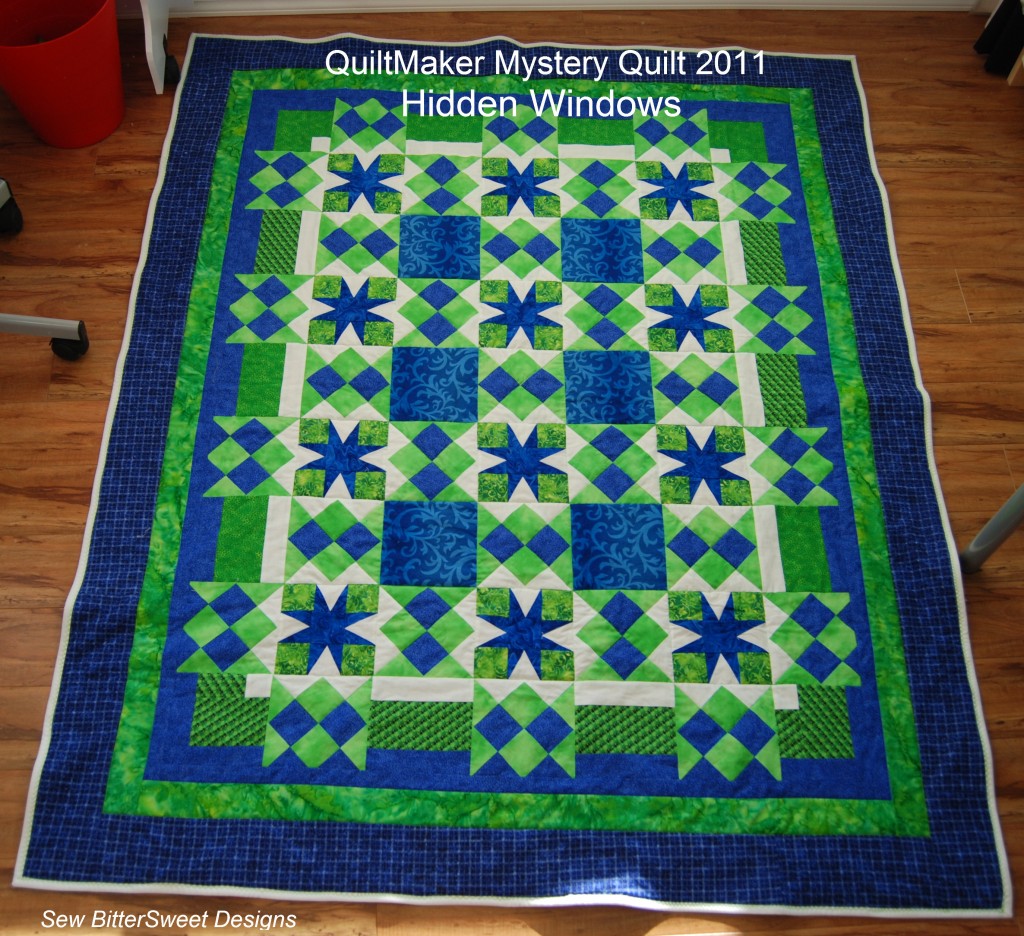 And this is where I tell you how glad I am that my hubby, while incredibly supportive, does not read my blog and for that I am grateful! This is his present and I can show it off here before giving it to him because he won’t see it!
Don’t forget to enter the giveaway for a $25.00 Intrepid Thread gift certificate!
![]() NOTE: Don’t forget, I am one of the bloggers who is going to lose Google Friend Connect in March 2012, please take a moment and follow me via Bloglovin’, Facebook, RSS or networked blogs. You are important to me and I want to be able to stay in contact with you! Check my side bar for all the best ways to stay in touch after GFC goes bye bye!
NOTE: Don’t forget, I am one of the bloggers who is going to lose Google Friend Connect in March 2012, please take a moment and follow me via Bloglovin’, Facebook, RSS or networked blogs. You are important to me and I want to be able to stay in contact with you! Check my side bar for all the best ways to stay in touch after GFC goes bye bye!

I love the quilt you made for your hubby! This is a great tutorial. Do you have any tips for when you’re trying to use a backing that has some piecing incorporating into it? I’m looking for a good method for keeping everything lined up so straight line quilting that looks good on top will also look straight on the back. Thanks! 🙂
This is how I baste too. And you are so right about hard wood floors and about how quick it is to pin baste.
This makes me wish I had hardwood floors, but pinning it to the carpet does work! Thank you for sharing the awesome present for your hubby. 🙂 I am sure he will love it! 🙂
This is my least favorite part of the quilting process. I hate pinning ! (maybe because my cats are always involved in the process ?)
And I don’t like to square up my quilted quilt either.
This quilt is gorgeous, I’m sure he’ll love it !
Curved safety pins and our living room’s laminate floors are the only things that make basting a quilt bearable! 🙂 Love the colors you chose for this one!
Good tutorial. I really like the colors of your quilt. Very pretty in that quilt design.
He’s gonna love it! Well done, it looks magnificent! I love those borders, and the optical illusion the diamonds make.
Great tutorial. Yes, please, a tutorial on binding. I’m stopped at that part, and I really want to finish this quilt before I start another.
That is a fabulous quilt! Your hubby is bound to love it to pieces!
I just quilted a top for my mom to take to chemo with her – we stretched the backing and taped it down, spread the batting on top and smoothed it all out, then laid the top down and smoothed it, making sure there weren’t any puckers, etc. We put in lots of pins, and then I machine quilted it (SITD), but there are still little puckers on the back, and I have no idea how to prevent them. I use a walking foot for all the stitching once it’s layered, so I have no clue how to keep the backing pucker-free. Any suggestions?
Found your great tutorial 🙂 I will have to move my kitchen table next time to use the hardwood floor to avoid my carpet issue…heehee 🙂 Thanks sewing buddy!